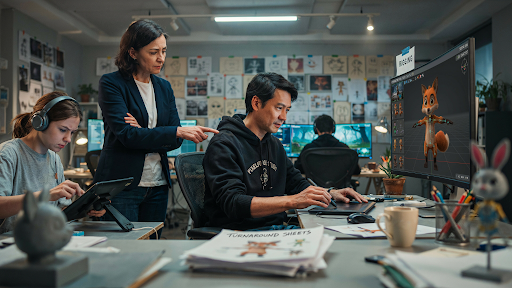
Most people asking how to create 3D animation picture an artist moving a finished character around a screen. That part does happen, but much later.
Before the character can blink, speak, or pick up a cup, someone has to decide what they look like, how they behave, what kind of world they belong in, and whether the audience should trust them, laugh at them, or feel sorry for them.
Then comes the technical work.
That work is rarely neat. A face that looked good in a sketch may feel strange in 3D. A jacket may bend badly at the shoulder. A character may walk correctly and still feel lifeless. Small problems show up all through production, and fixing them is part of the job.
The Character Starts With a Question
Before drawing anything, ask what the character is there to do.
A mascot built for a children’s learning app needs to feel approachable within seconds. A cartoon engineer in an industrial video needs to look competent without becoming stiff. A comic office worker may need slightly exaggerated features so the frustration reads clearly.
This is where art direction begins.
The design team usually explores body shape, face, clothing, color, age, posture, and silhouette. Sometimes a rough black shape tells you more than a detailed face. A character with a large head and narrow shoulders may feel young or playful. A broad stance and square shape can suggest strength. Rounded shapes generally feel softer. Sharp ones can feel energetic or severe.
Professional 3D cartoon characters are designed around these signals.
A character is not memorable because it has more detail. It is memorable because the right details were chosen.
Planning Is Where Problems Are Cheapest
Production teams sometimes rush planning because sketches and rough frames do not feel like the final product.
That is a mistake.
During pre-production, the team works through the script, character brief, visual references, environment, major actions, voice, and pacing. This is where ideas can still be changed without wasting days of technical work.
A rough storyboard may look simple, but it answers important questions. Where is the camera? What is the character doing? When does the product appear? Does the scene need a close-up? Is the action clear without dialogue?
An animatic takes those panels and places them on a timeline with temporary sound. Suddenly, timing problems become obvious. A scene that sounded quick in the script may drag for six seconds. A joke may need a pause. A product reveal may happen before the viewer understands the problem.
A good explainer video company usually pushes for these decisions early. It is much easier to move a storyboard panel than to rebuild a finished scene.
Turning a Drawing Into a 3D Model
Once the character design is approved, the modeler starts building it in digital space.
This is 3D modeling.
The artist creates the head, torso, arms, legs, hands, clothes, hair, shoes, and accessories. Sometimes the character begins as a basic digital shape and is sculpted gradually. In other workflows, the model is built with cleaner geometry from the start.
The character has to look right from more than one angle. A nose that works in a front sketch may look too long from the side. A hairstyle may block facial expressions. Oversized sleeves may look charming until the arms need to bend.
This is why learning how to create professional 3D cartoon characters is not just about copying a concept drawing. The artist has to interpret that drawing in three dimensions.
The model also needs to be animation-friendly.
Areas around the mouth, eyes, shoulders, elbows, knees, and hips need enough clean geometry to bend without breaking. A character can look perfect in a still render and fall apart the moment it smiles.
That is not unusual. It is exactly why the model must be tested before production moves on.
Surface Detail Comes After Shape
Fresh 3D models often appear grey. The shape is there, but the character has no final surface yet.
That comes through texturing and material work.
Skin gets its color. Fabric starts to feel like fabric. Shoes may look rubbery, polished, worn, or soft. Hair can be smooth and stylized or built with more complex strands. Even a cartoon eyebrow needs the right material so it does not look pasted on.
More detail is not always better.
A playful mascot may work best with simple color blocks and soft surfaces. A cinematic character may need subtle skin variation, fabric weave, and richer hair. Putting realistic pores on a heavily stylized face can create an uncomfortable result.
Artists also test how materials react to light. A dark jacket may lose all detail in shadow. Skin may look waxy. Glasses may create distracting reflections.
The material has to work in the scene, not just in a close-up preview.
The Skeleton Nobody Sees
At this stage, the character still cannot perform.
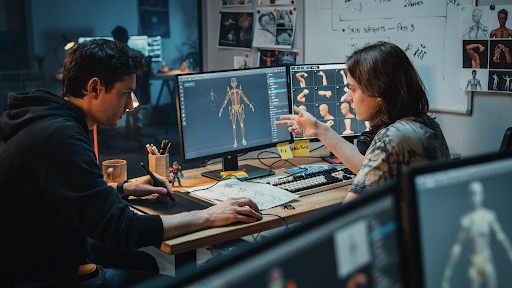
It needs a hidden control system, often called a rig.
Character rigging places bones, joints, facial controls, and deformation tools inside the model. Animators use these controls to pose the character without pushing individual points around by hand.
A simple rig may control the spine, arms, legs, head, and hands. A more detailed one can include fingers, clothing controls, flexible props, eye focus, breathing, and facial expressions.
The face is usually the harder part.
A smile involves more than lifting the corners of the mouth. The cheeks move. The eyes narrow slightly. The eyebrows may react. The jaw and lips need to support the sound if the character is speaking.
That is how character rigging works in 3D animation: the technical setup gives the animator enough control to create believable behavior.
A 3D explainer video company may build a very detailed rig for a lead character who speaks in close-up, while keeping background characters simpler. There is no reason to build controls the camera will never see.
Animation Begins With Observation
Once the rig is approved, animation can finally begin.
This is where the character starts making choices.
A beginner may focus on moving the hand from one place to another. An experienced animator thinks about what happens before and after that movement.
Imagine a character reaching for a phone.
They may look at it first. Their shoulders shift. One hand leaves the table. The fingers prepare before touching it. The body reacts to the weight. If they are annoyed, the movement will be sharper. If they are unsure, there may be a pause.
That is 3D character animation. It is digital acting.
Anyone learning how to animate a 3D cartoon character should watch real people closely. Notice how someone leans back before standing. Watch how the head turns slightly before the body follows. Look at what the hands do when a person is trying to explain something they do not fully understand.
Cartoon animation can exaggerate these actions, but it should not ignore them.
A Talking Character Needs a Whole Performance
Lip-sync is not only about matching mouth shapes to recorded words.
A believable speaking character uses the whole body.
The eyes shift. The head reacts. The hands support certain words. The shoulders rise during uncertainty. A character may hesitate before answering or look away when embarrassed.
Voice recording is usually completed before detailed animation so the animator can work with the actor’s timing. A short laugh, breath, or pause may become an important part of the performance.
Mouth movement should not be overworked. If every sound creates a huge shape, the face becomes distracting. The important sounds need to read, but the performance should still feel natural.
The viewer should watch the character, not the rig.
Lighting Changes More Than Brightness
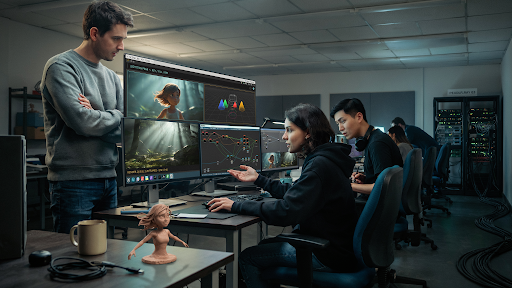
Once scenes are animated, the team starts refining lighting and rendering.
Lighting decides whether the world feels cheerful, dramatic, safe, cold, playful, or tense. A bright commercial scene may use soft, broad light. A cinematic sequence may use deeper shadows. A children’s video usually needs faces and actions to remain clear.
Light also guides attention.
If the character is speaking, the face should not disappear into shadow. If a product matters, highlights can help show its shape. Background objects should support the scene without becoming more noticeable than the subject.
Rendering turns the 3D scene into final images. The software calculates materials, shadows, reflections, depth, movement, and other visual information.
This can take time.
Detailed hair, transparent objects, large sets, crowds, realistic shadows, and reflective materials all increase the workload. That is one reason the cost of professional 3D animation changes so much from project to project.
A single cartoon character in a clean room is not the same job as five characters running through a busy city.
The Render Is Not Always the Final Image
After rendering, scenes often move into compositing.
Here, artists combine image layers and adjust the finished look. They may refine color, shadow, atmosphere, glow, background depth, or small effects. If a scene feels too flat, compositing may help create separation. If one area is too bright, it can sometimes be corrected without rendering the entire scene again.
This stage is useful, but it is not magic.
Compositing cannot turn weak acting into good acting. It cannot repair a poorly built model or make a confusing camera angle easy to read.
It should finish the image, not hide earlier mistakes.
Sound Gives Weight to the World
Animation without proper sound often feels lighter than it should.
A foot touches the floor, but there is no sound. A box closes silently. Clothing never moves. The room has no atmosphere. Even viewers who cannot explain the problem may feel that something is missing.
Sound effects give actions weight.
Music controls mood and pace. Voice carries personality. Room tone helps scenes feel connected rather than empty. Tiny sounds, such as a chair movement or a hand touching a desk, can make a character feel more present.
The final edit balances all of this. Dialogue should remain clear. Music should not overpower the scene. Effects should support the action without making every movement sound exaggerated.
Sometimes 2D Is the Smarter Choice
Not every project needs a full 3D pipeline.
A simple educational video, icon-led explanation, or character story may work perfectly well in 2D. It can be quicker to produce and easier to revise, especially if the message does not depend on depth, realistic products, or complex camera movement.
A 2D explainer video company may be a better fit for a friendly service story, a classroom animation, or a clean business explainer.
The style should follow the message.
Software videos often use a mix. The opening may include a 3D visual, while the main explanation relies on interface animation and motion graphics. A SaaS explainer video company can combine those methods rather than forcing the whole project into one style.
Using 3D only because it sounds more impressive usually creates extra work without improving the communication.
The Real Production Order
The 3D animation production process step by step is not complicated to list, though each stage has its own challenges.
The work normally starts with the concept, script, character brief, and art direction. Next come the storyboard and animatic. After approval, the team moves through modeling, texturing, rigging, voice recording, animation, lighting, rendering, compositing, sound, and final editing.
Some stages overlap. A lighting artist may test a character while texturing continues. A rig may be adjusted after the animator finds a limitation. A camera angle may need to change because a facial expression is not reading clearly.
That is normal.
What matters is that major decisions are approved before the most expensive work begins. A late script change can affect voice recording, animation, rendering, sound, and editing at once.
Careful planning feels slower at the start. It usually makes the rest of production much easier.
Final Words
Understanding how to create 3D animation means looking beyond the final movement on screen. The work starts with character thinking, not software. It then moves through planning, modeling, texturing, rigging, performance, lighting, rendering, compositing, and sound.
Professional 3D cartoon figures feel alive since each stage reflects the same characteristics. Technical excellence is important, but spectators seldom recall the rig or render settings. They recall if the character made them laugh, believe the message, or care about what happened next.
